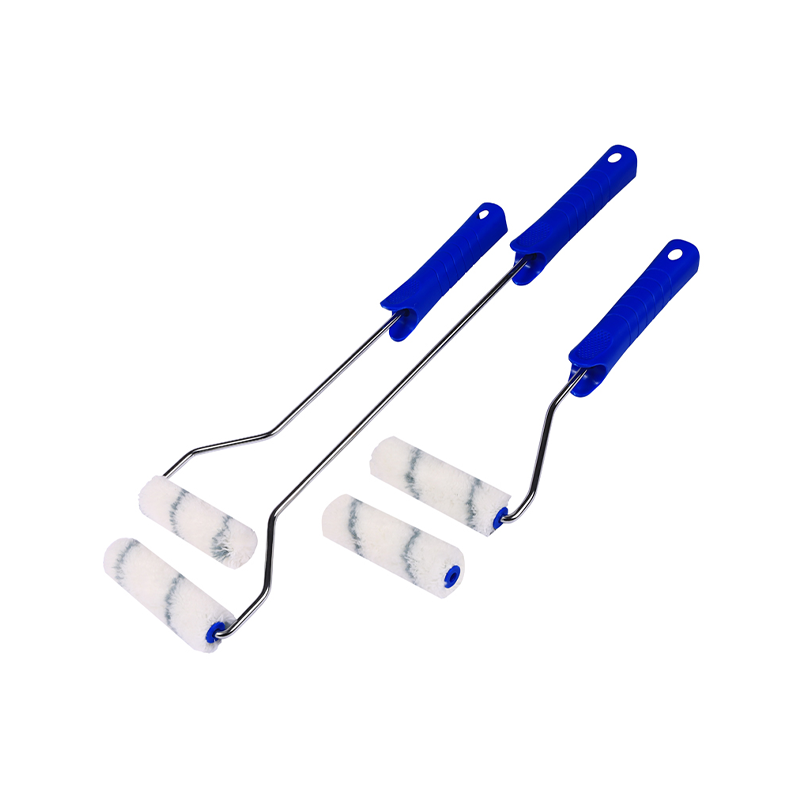
Zhejiang Jinhua Mika Decoration Commodity Co., Ltd. manufacturers and professional suppliers of paint tools, was founded in 2003 in Lanxi, Zhejiang. As a professional China Mini Paint Rollers Manufacturers and Mini Paint Rollers Suppliers, it has engaged in the production of paint roller, paint brush, roller frame, plastic paint tray, extension pole and other related products for over 20 years. It constantly dedicates to provide high-quality products for brand owners, paint professionals and DIY consumers. We have an independent research and development team, and successfully applied for more than ten patents. Our engineers and designers are prepared to provide you with product and packaging design, and they are working closely with a professional team to provide with you considerate supporting services. Our factory owns more than 20000 square meters construction area and more than 200 well-trained workers. With the efforts of our employees, we are able to provide about 500,000 dozen of paint brushes and 20,000,000 pcs of paint rollers annually for exports. Our automatic production line, experienced technicians, strict quality control management and advanced technology development team have great advantages in guaranteeing product quality, delivery time and product innovation. Now with the help of new equipment and special finishing techniques, we are enabled to manufacture perfected superior painting tools. We hope that you will choose our competitively priced quality products. Please feel free to contact us and we will be happy to answer any questions you may have. We sincerely welcome you to visit us and establish long-term and friendly business relationships with us.
-
0
Enterprise establishment -
0㎡
Area covered -
0+
Enterprise employees -
0+
Exported countries
News
-
Small Paint Roller Brushes: The Unsung Heroes of the Painting Industry
In the ever-evolving world of home improvement and painting, the small paint roller brush is quickly gaining recognition as a vital tool for both professionals and DIY enthusiasts. As projects become ...
-
Elevating Painting Efficiency: The Rise of the 18-Inch Spike Roller Cover
As the painting industry evolves, professionals and DIY enthusiasts alike are continuously searching for tools that enhance efficiency and improve results. Among these innovative tools, the 18-inch sp...
-
The Rise of the Long Microfiber Paint Roller: Revolutionizing Painting Efficiency and Finish
In the world of professional painting, the long microfiber paint roller is emerging as a game-changing tool that enhances both efficiency and the quality of paint application. As the painting industry...
-
The Emerging Innovations in Paint Roller Frames: Shaping the Future of Painting
In the ever-evolving landscape of painting tools, the paint roller frame is a crucial yet often overlooked component that significantly influences the quality and efficiency of painting projects. As t...

 English
 русский
 Français
 Español
 Deutsch
 عربى
عربى +86-0579-82166663


